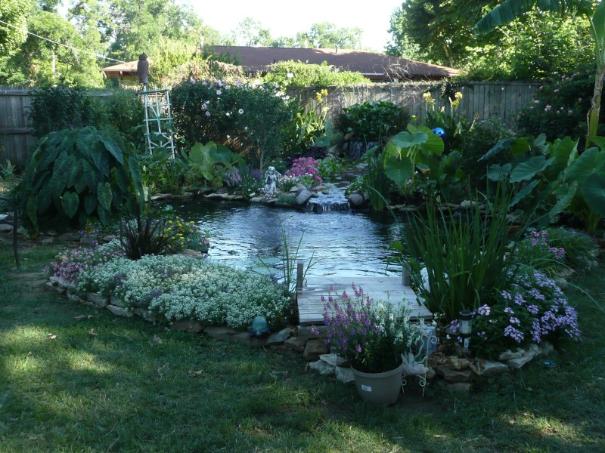
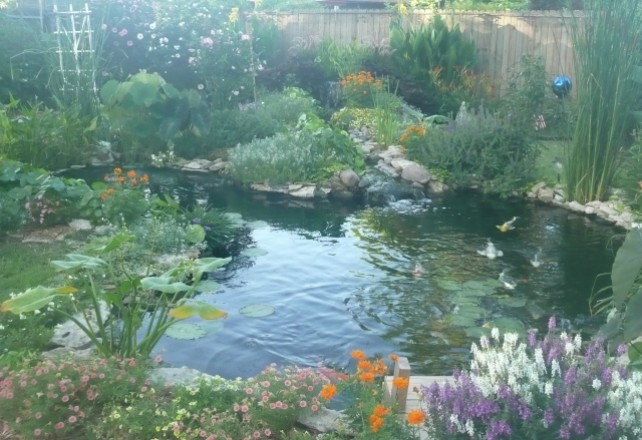
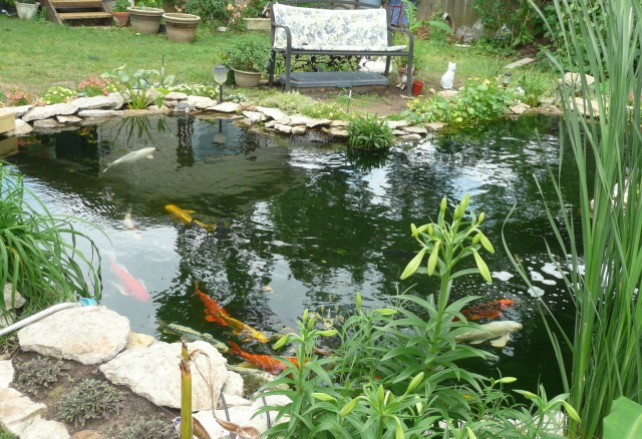
A pond is never completely "finished". There are always changes occurring as the plants and fish mature, or when you add new plants, or if you decide to increase the size. The picture above was taken during the 2008 Pond Tour in my area. Pond tours are a great way to observe other ponds for ideas and speak with the owners about their experiences, and I highly recommend that people who are considering installing a pond take one of these tours.
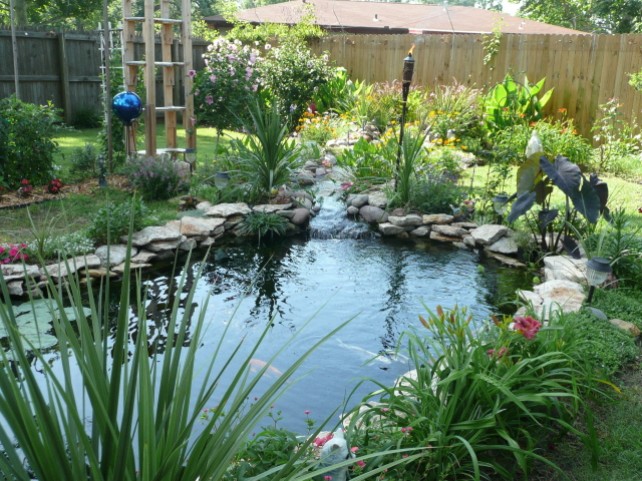
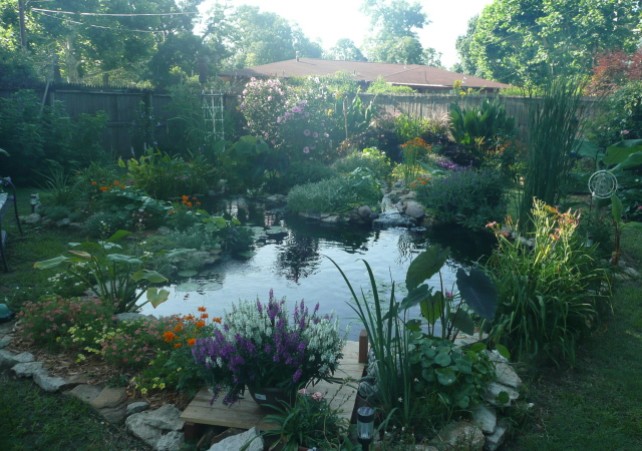
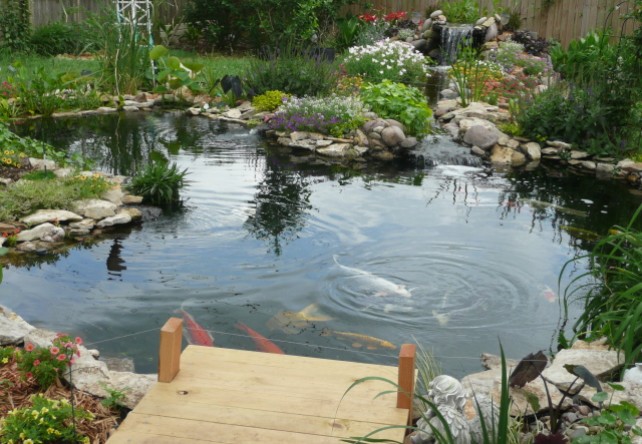
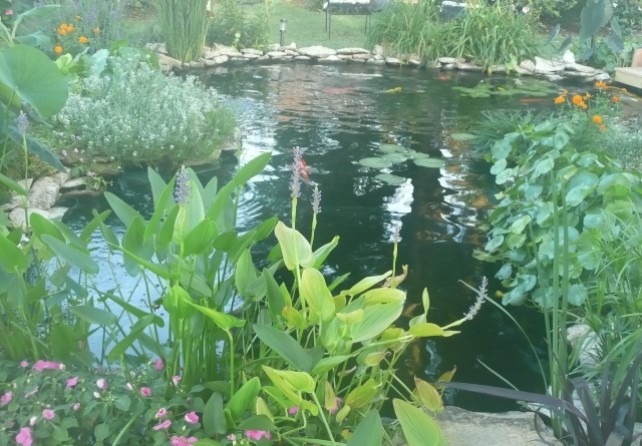
Below are two pictures taken during the 2010 Pond Tour. During the spring of 2009, I added an additional section to increase the swimming area for the fish. My koi had spawned and I was unable to rehome all of the babies, so I found myself terribly overstocked. I also built a small dock to cover the skimmer, which I think looks better than the faux rock that covered it before.
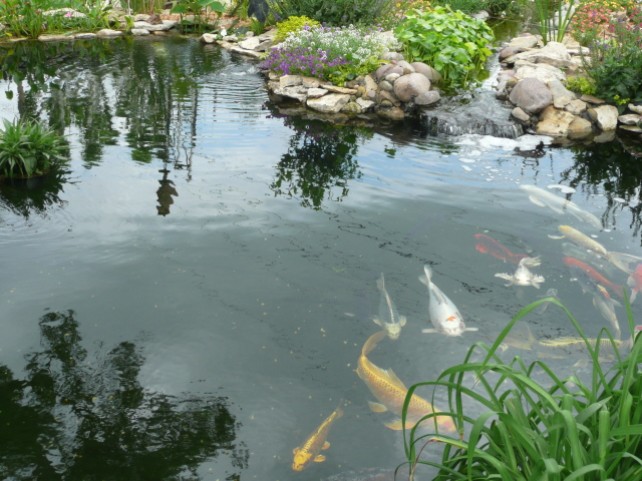
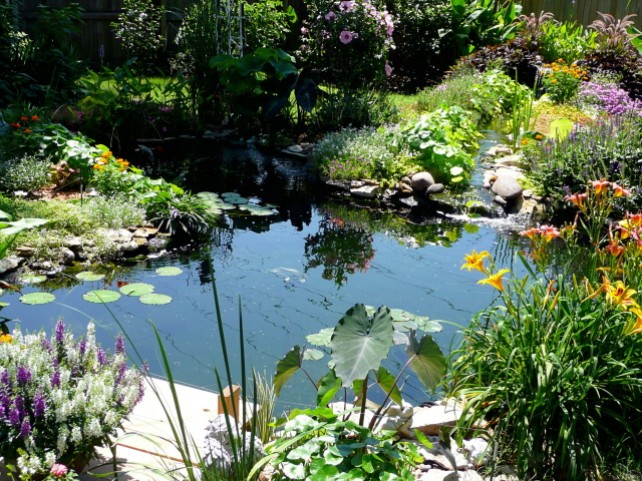
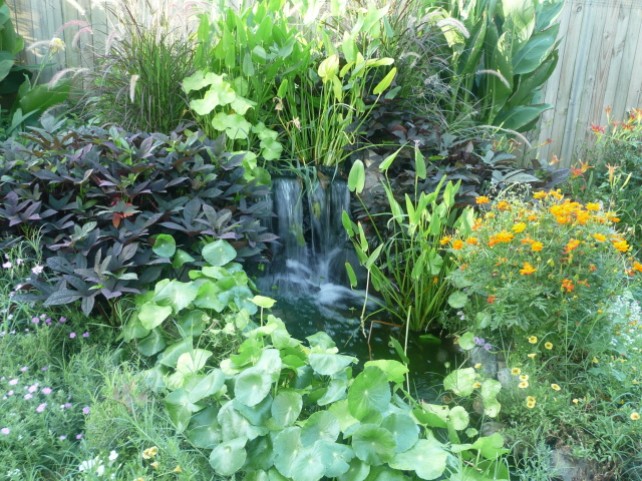
Below are additional pictures taken at varying angles and showing the various plants and ornaments and seating areas around the pond. The first picture below shows the shape of the pond before the plants started filling in.
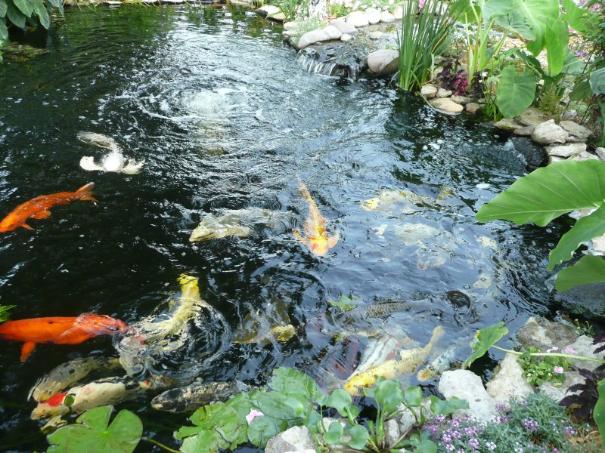
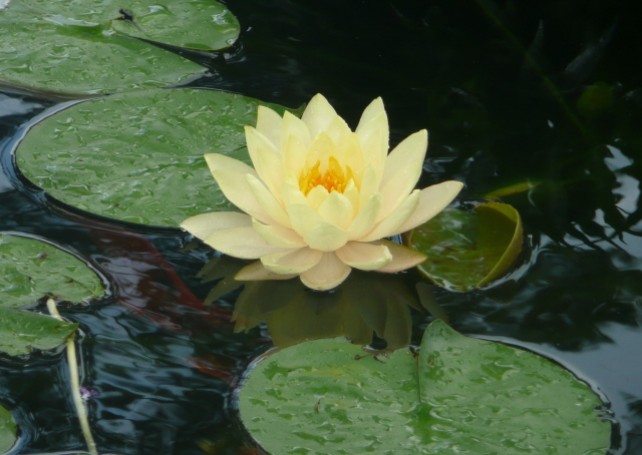
The lotus below is sitting in a "bog pocket", an area in the corner where I had excess liner. I just carved out a hole big enough for the lotus pot. That keeps it in the pond water, but keeps it away from the koi, who love to tear up my plants.


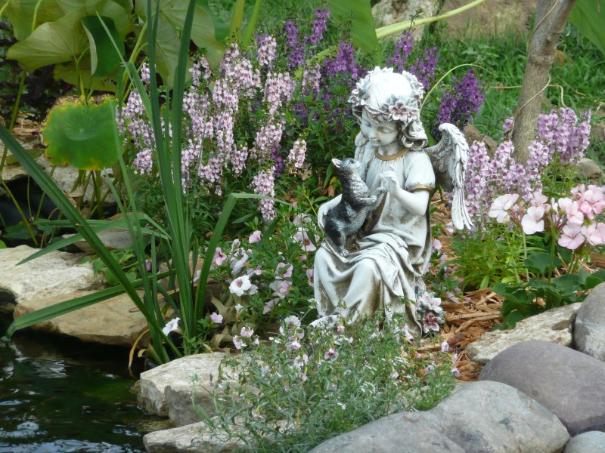
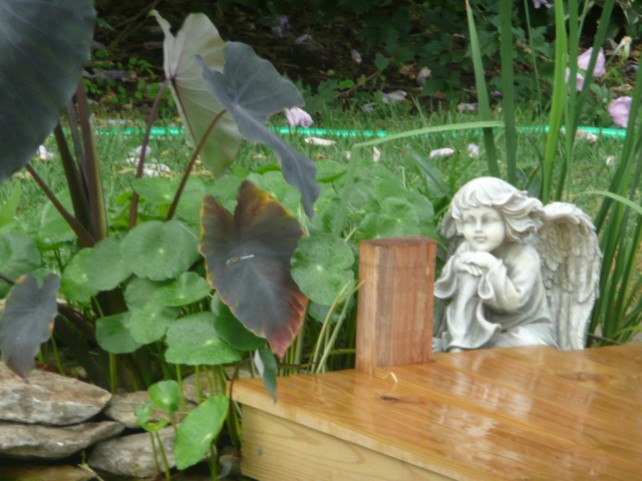
Below is my angel sitting beside the dock watching the fish. Behind her is a small "bog" area. I had some extra liner, so I dug a small shallow place, put in the liner, filled it with gravel, and inserted a black magic taro, an iris, and some pennywort. They're doing very well, but because it is not connected to the pond, I have to add water every day on hot days. If you look closely, you can see a blue dragonfly flying past the taro leaf just left of center.
Below is the waterfall coming out of the bio-filter box. If feeds the stream, which then travels to the pond.
In March of 2012, I began what I hope is my final rebuild. I decided it was time to add a bottom drain. There are many different models and sizes to choose from, but I settled on a 4" aerated Koi Toilet, and I couldn't be happier with the results! The size and shape are basically the same, I simply went a little deeper in the middle to get the proper slope. You can see the aeration bubbling up in the middle.